Easy Modal Overlays
Be advised This post is quite old (21 Nov 2012) and any code may be out of date. Proceed with caution.
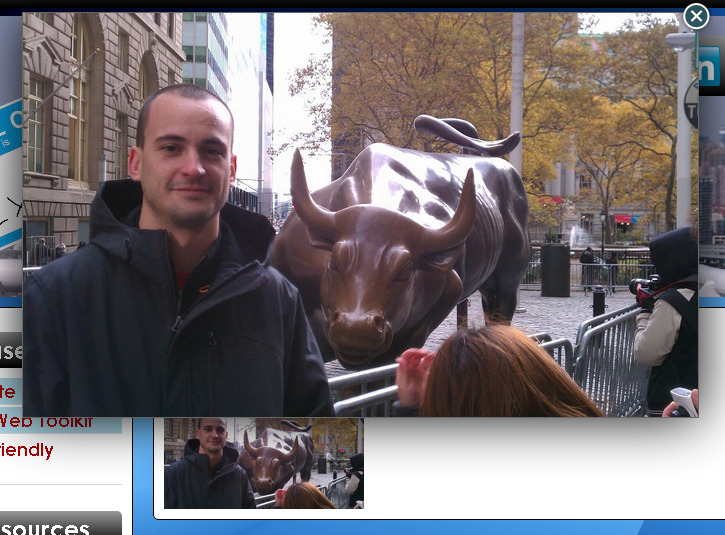
Modal overlays are those fancy popups, often used to display a full-sized image or some sort of form. They give the appearance of a new window within the browser, giving sites a more lively animated and interactive look.
It's a pretty sweet feature, and is actually pretty easy to implement. I'll highlight a couple options and talk about how to implement them in this post.
Lightbox
Lightbox is a well known modal overlay package that uses jQuery. The implementation of Lightbox is very straightforward
- Download Lightbox files</li>
- Move the files into their respective folders where your site is hosted(e.g. move all of the Lightbox CSS files to the directory where you host all your CSS files)</li>
-
Add script references to the head of your HTML document in the right order:
<script src="js/lightbox.js"></script> <link href="css/lightbox.css" rel="stylesheet" /> - Make sure that the path to the Lightbox images is correct in lightbox.css and screen.css files, otherwise the images won’t render</li>
-
Now for the best part - add your images using an anchor tag, like this:
<a href="img/image1.jpg" rel="lightbox" title="some caption">some arbitrary text</a>
That's it! The CSS and Javascript take care of the rest! Each image can have a title (just modify the title attribute). You can also have a gallery of images, by using the same group name in each rel attribute, like this:
<a href="img/image2.jpg" rel="lightbox[group_name]">Image 2 Name</a>
<a href="img/image3.jpg" rel="lightbox[group_name]">Image 3 Name</a>
Custom (but easy) Modal Overlay with jQuery Tools
If you want to do something a little different than Lightbox, check out the jQuery Tools Overlay. Also built using jQuery, the jQuery Tools approach is a little less prescribed, a little more open.
Here's the step-by-step approach:
-
Add images to your web site or web app with img tags, giving an arbitrary value to the rel attribute with a # sign like this:
<img src="img/image2.jpg" rel="#arbitrary2"/> -
Create the content you want to appear in the modal overlay within a div tag. Assign the same arbitrary value to the id attribute, and give the div a class name that you will create in the CSS like this:
<div class="arbitrary_class_name" id="arbitrary1">...</div> -
Define the “arbitrary_class_name” in your CSS file. I re-used most of the CSS on the jQuery Tools’ tutorial:
.arbitrary_class_name { /* must be initially hidden */ display:none; /* place overlay on top of other elements */ z-index:10000; /* styling */ background-color:#333; width:675px; min-height:200px; border:1px solid #666; /* CSS3 styling for latest browsers */ -moz-box-shadow:0 0 90px 5px #000; -webkit-box-shadow: 0 0 90px #000; } /* close button positioned on upper right corner */ . arbitrary_class_name .close { background-image:url(img/close.png); position:absolute; right:-15px; top:-15px; cursor:pointer; height:35px; width:35px; } -
Don’t forget to add a reference to your CSS file in the head of the HTML file, as well as a reference to the jQuery Tools javascript:
<link href="css/yourStyleSheet.css" rel="stylesheet" /> -
Last step - add this short Javascript to the your HTML document:
$(document).ready(function() {
  $("img[rel]").overlay();
  });
</script>
That's it!


Leave a Comment