
Arduino Project 2: The Audible Eye Part 2
Alright, if you're following along from Part 1, you should have your headphones/speakers as well as your ultrasonic rangefinder wired up and operational. Next we have to write the code to marry these two devices.
The Code
/*
Alex Glover
Copyright December 2012
The Audible Eye - handheld device that utilizes an ultrasonic rangefinder to determine distance to whatever object the device is pointed at.
Feedback will be delivered to operator via sound - tone will increase pitch for shorter distances, no tones played for extreme distances.

Credit to:
YourDuino SKETCH UltraSonic Serial 1.0
terry@yourduino.com

Uses: Ultrasonic Library (Copy to Arduino Library folder)
http://iteadstudio.com/store/images/produce/Sensor/HCSR04/Ultrasonic.rar
*/

/* Libraries */
#include "Ultrasonic.h"
/* Pin Assignments */
//Pin designated for controlling the emission of ultrasonic 'pings'
#define TRIG_PIN 2
//Pin designated to 'listen' for ultrasonic 'pings'
#define ECHO_PIN 7
//Pin used to drive the audio output through the headphones
#define SOUND_PIN 12
/* Declare objects */
//Create an object of type 'Ultrasonic' and call it 'Sensor,' passing the trig pin and echo pin numbers into the constructor
Ultrasonic Sensor(TRIG_PIN, ECHO_PIN);
/*-----( Declare Variables )-----*/
//Variable to hold the tone value; this value will be calculated first, and then passed to the tone() function
int toneToPlay=0;

void setup()
{
  Serial.begin(9600);
  //Pring the following text to the serial monitor
  Serial.println("The Audible Eye");
  Serial.println("alexdglover.wordpress.com alexdglover@gmail.com");

}
void loop()
{
  delay(200); //20 millisend delay to let echos from room dissipate

  //The sensor occasionally returns 0 incorrectly. 0 would also give us a divide by zero error in the next line of code. To address these issues
  //we use this simple if statement. Basically, if a 0 is returned, we play no tones through the headphones.
  if (Sensor.Ranging(INC) != 0){
    //Calculating the tone to play as 1000 hertz divided by the number of inches. So if the device is one inch away from an obstacle, we play
    //a 1000 hertz tone. If the device is 10 inches away, it plays a 100 hertz tone. Anything greater than 20 inches reduces the tone to almost inaudible.
    toneToPlay=(1000/Sensor.Ranging(INC));
  }
  else{
    toneToPlay=(0);
  }
  //Here we take whatever value toneToPlay was calculated at and pass it into the tone() function. The parameter of 200 is the number of milliseconds to play
  //the tone. The loop takes about 200 milliseconds in total, so if the loop hangs or crashes, the tone won't keep getting played indefinitely.
  tone(SOUND_PIN,toneToPlay, 200);
}
Upload that sketch to your Arduino and test. If all's well, you should be hearing various tones coming out of your headphones depending on what's in front of your rangefinder.
The Finishing Touches
Now at this point, you could declare this project a success. The device works as intended. However, I wanted to give this project a few finishing touches that I usually skip over, so let's put it all inside an enclosure, make it portable (i.e. battery powered), and throw on a badass toggle switch for the fun of it.
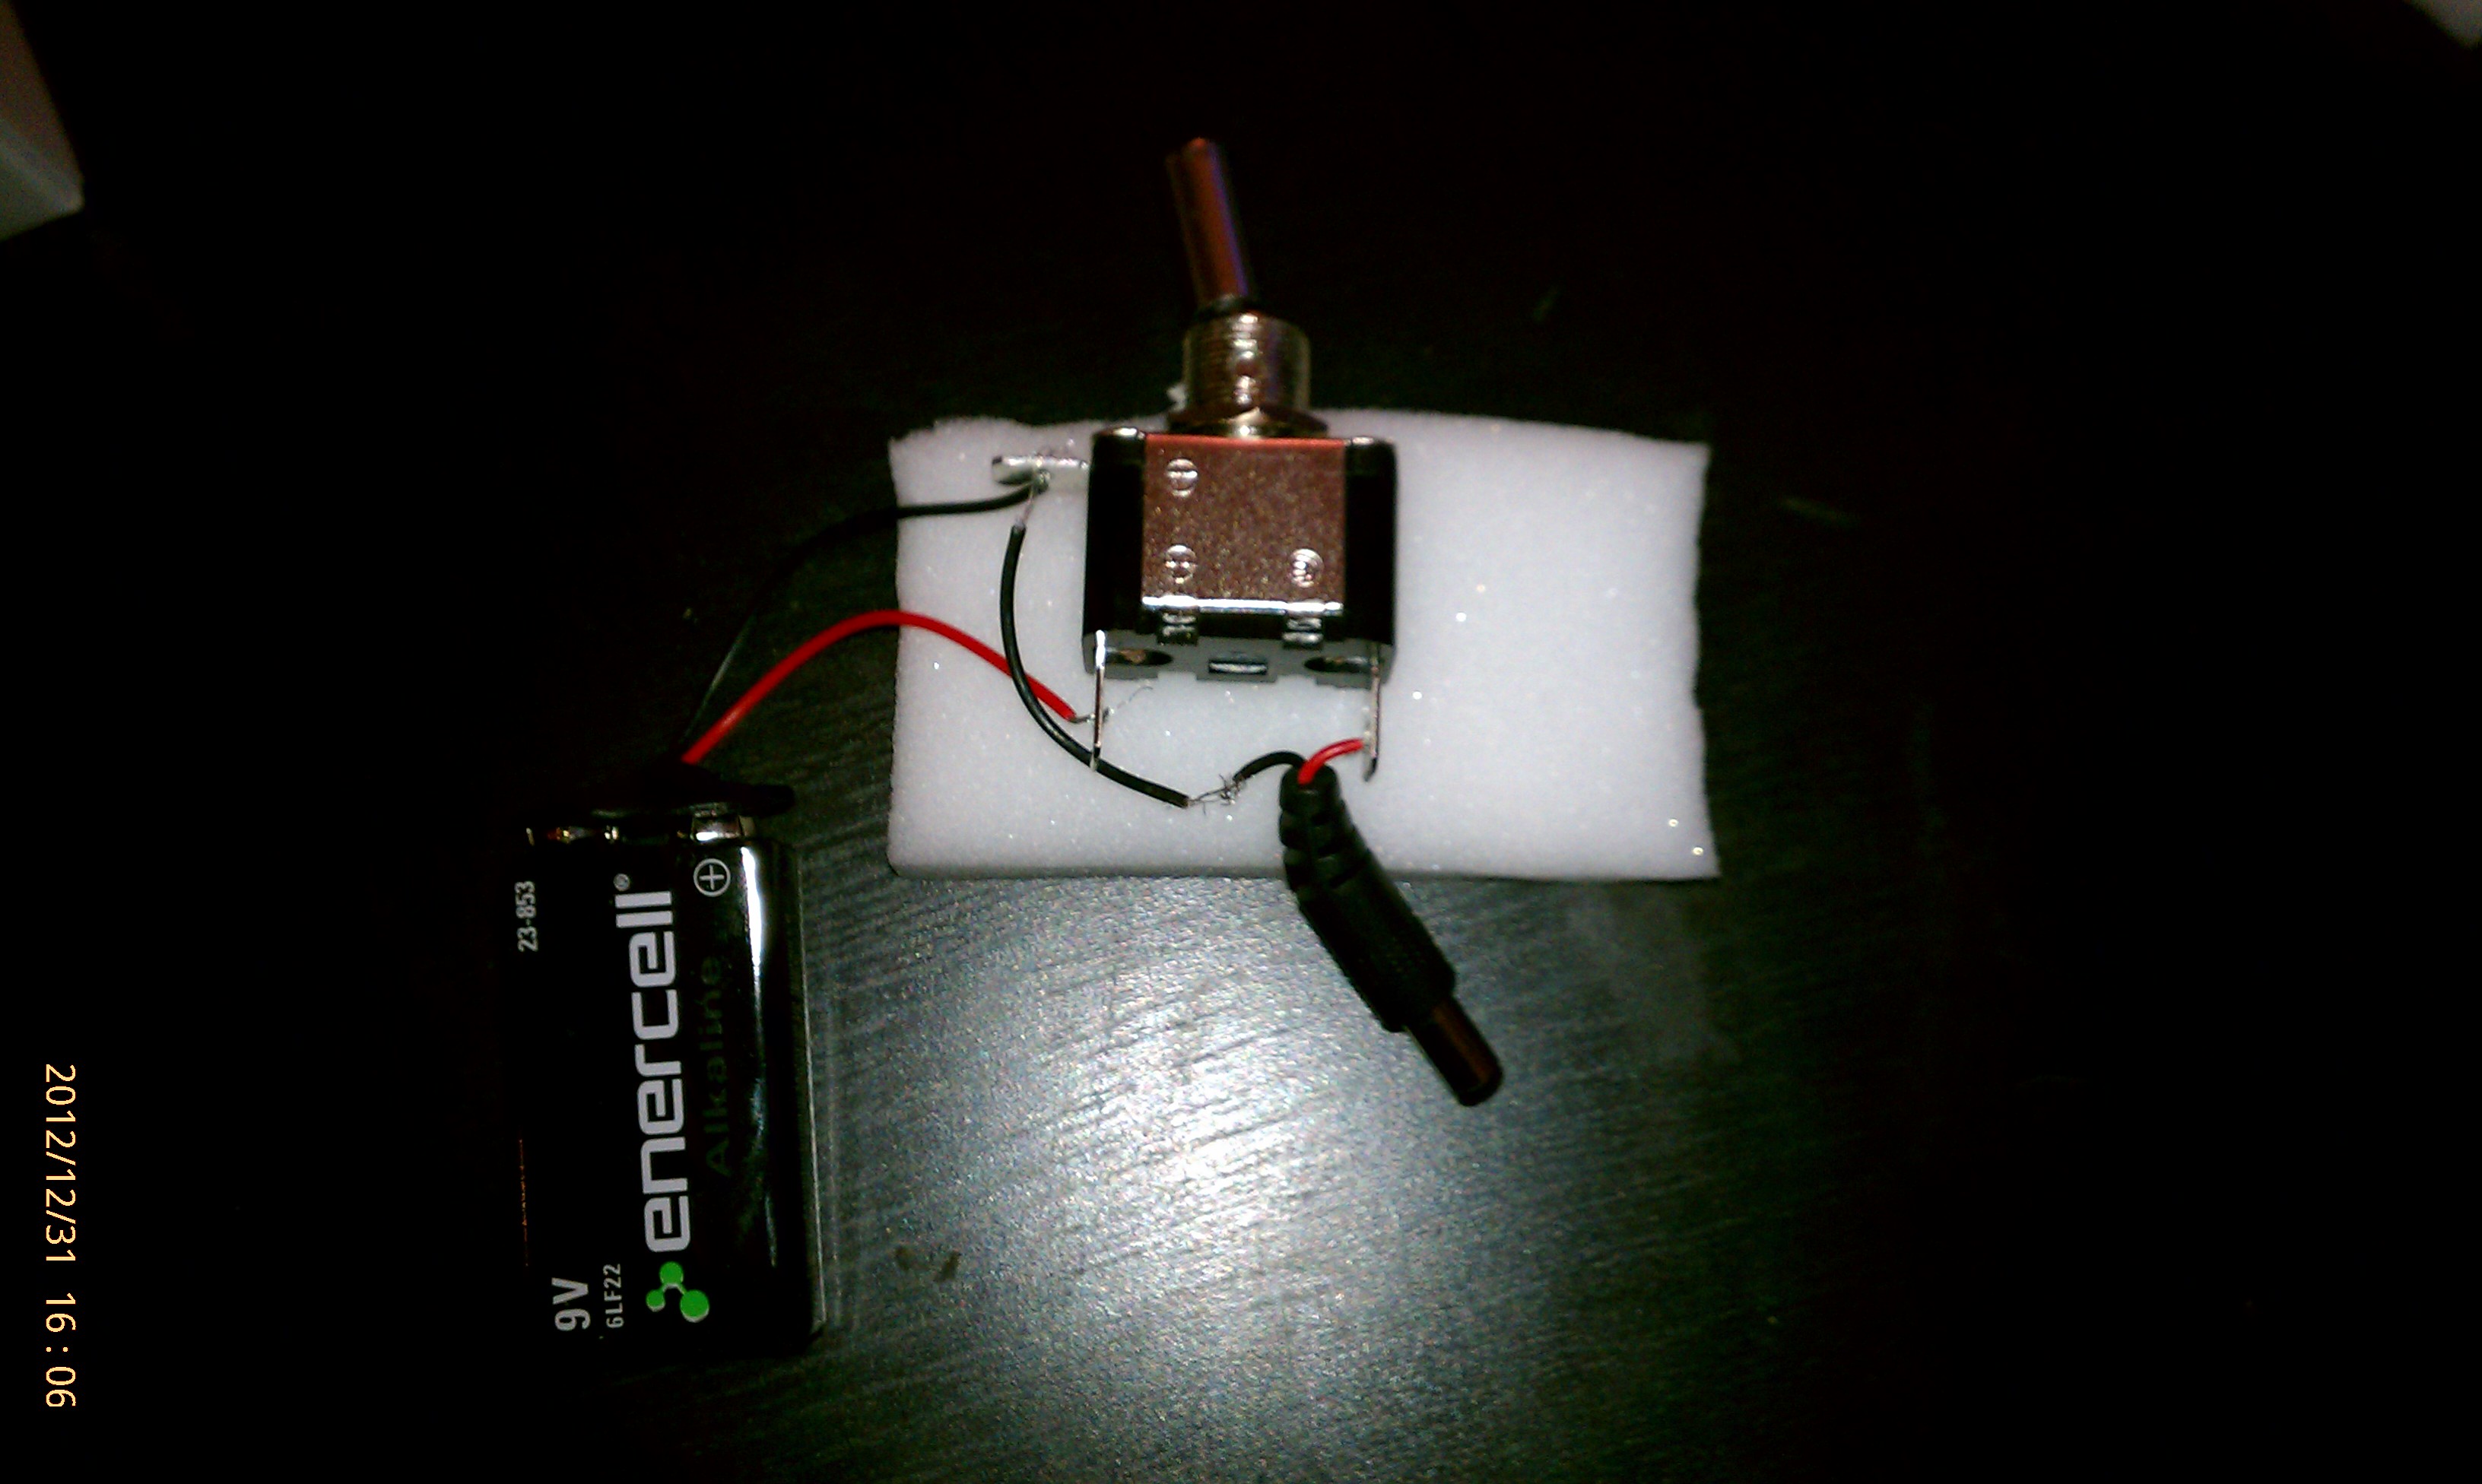
First, let's wire up the toggle switch. Take one of your 9V battery adapters and cut both wires about halfway between the battery clip and the male adapter. Now take the battery clip side and strip the wires. Connect the red wire to the voltage-in connection on the switch and the black wire to the ground. Now take the male adapter piece and strip the wires. Connect the red wire to the voltage-out connection on the switch and connect the black wire to the same ground connection on the switch we used before. My wiring is quite ugly, but you should get something that looks like this:
Now for the enclosure. I was having a hard time finding a legitimate project enclosure of the right size, so I just used an old cardboard box. Cut out a small rectangle for the the rangefinder to protrude from at the front of your device. On a different side, cut out another hole (size will depend on what size of toggle switch you use). Once you have your holes cut, start installing your components. For my enclosure, I installed everything but the Arduino on one 'level' and used some packing foam to wedge things into place.

Then I installed the Arduino and connected the power adapter, leaving the headphones outside of the box as I closed the lid. Here's a final closeup:

That's it, hope you enjoyed the post!
Leave a Comment